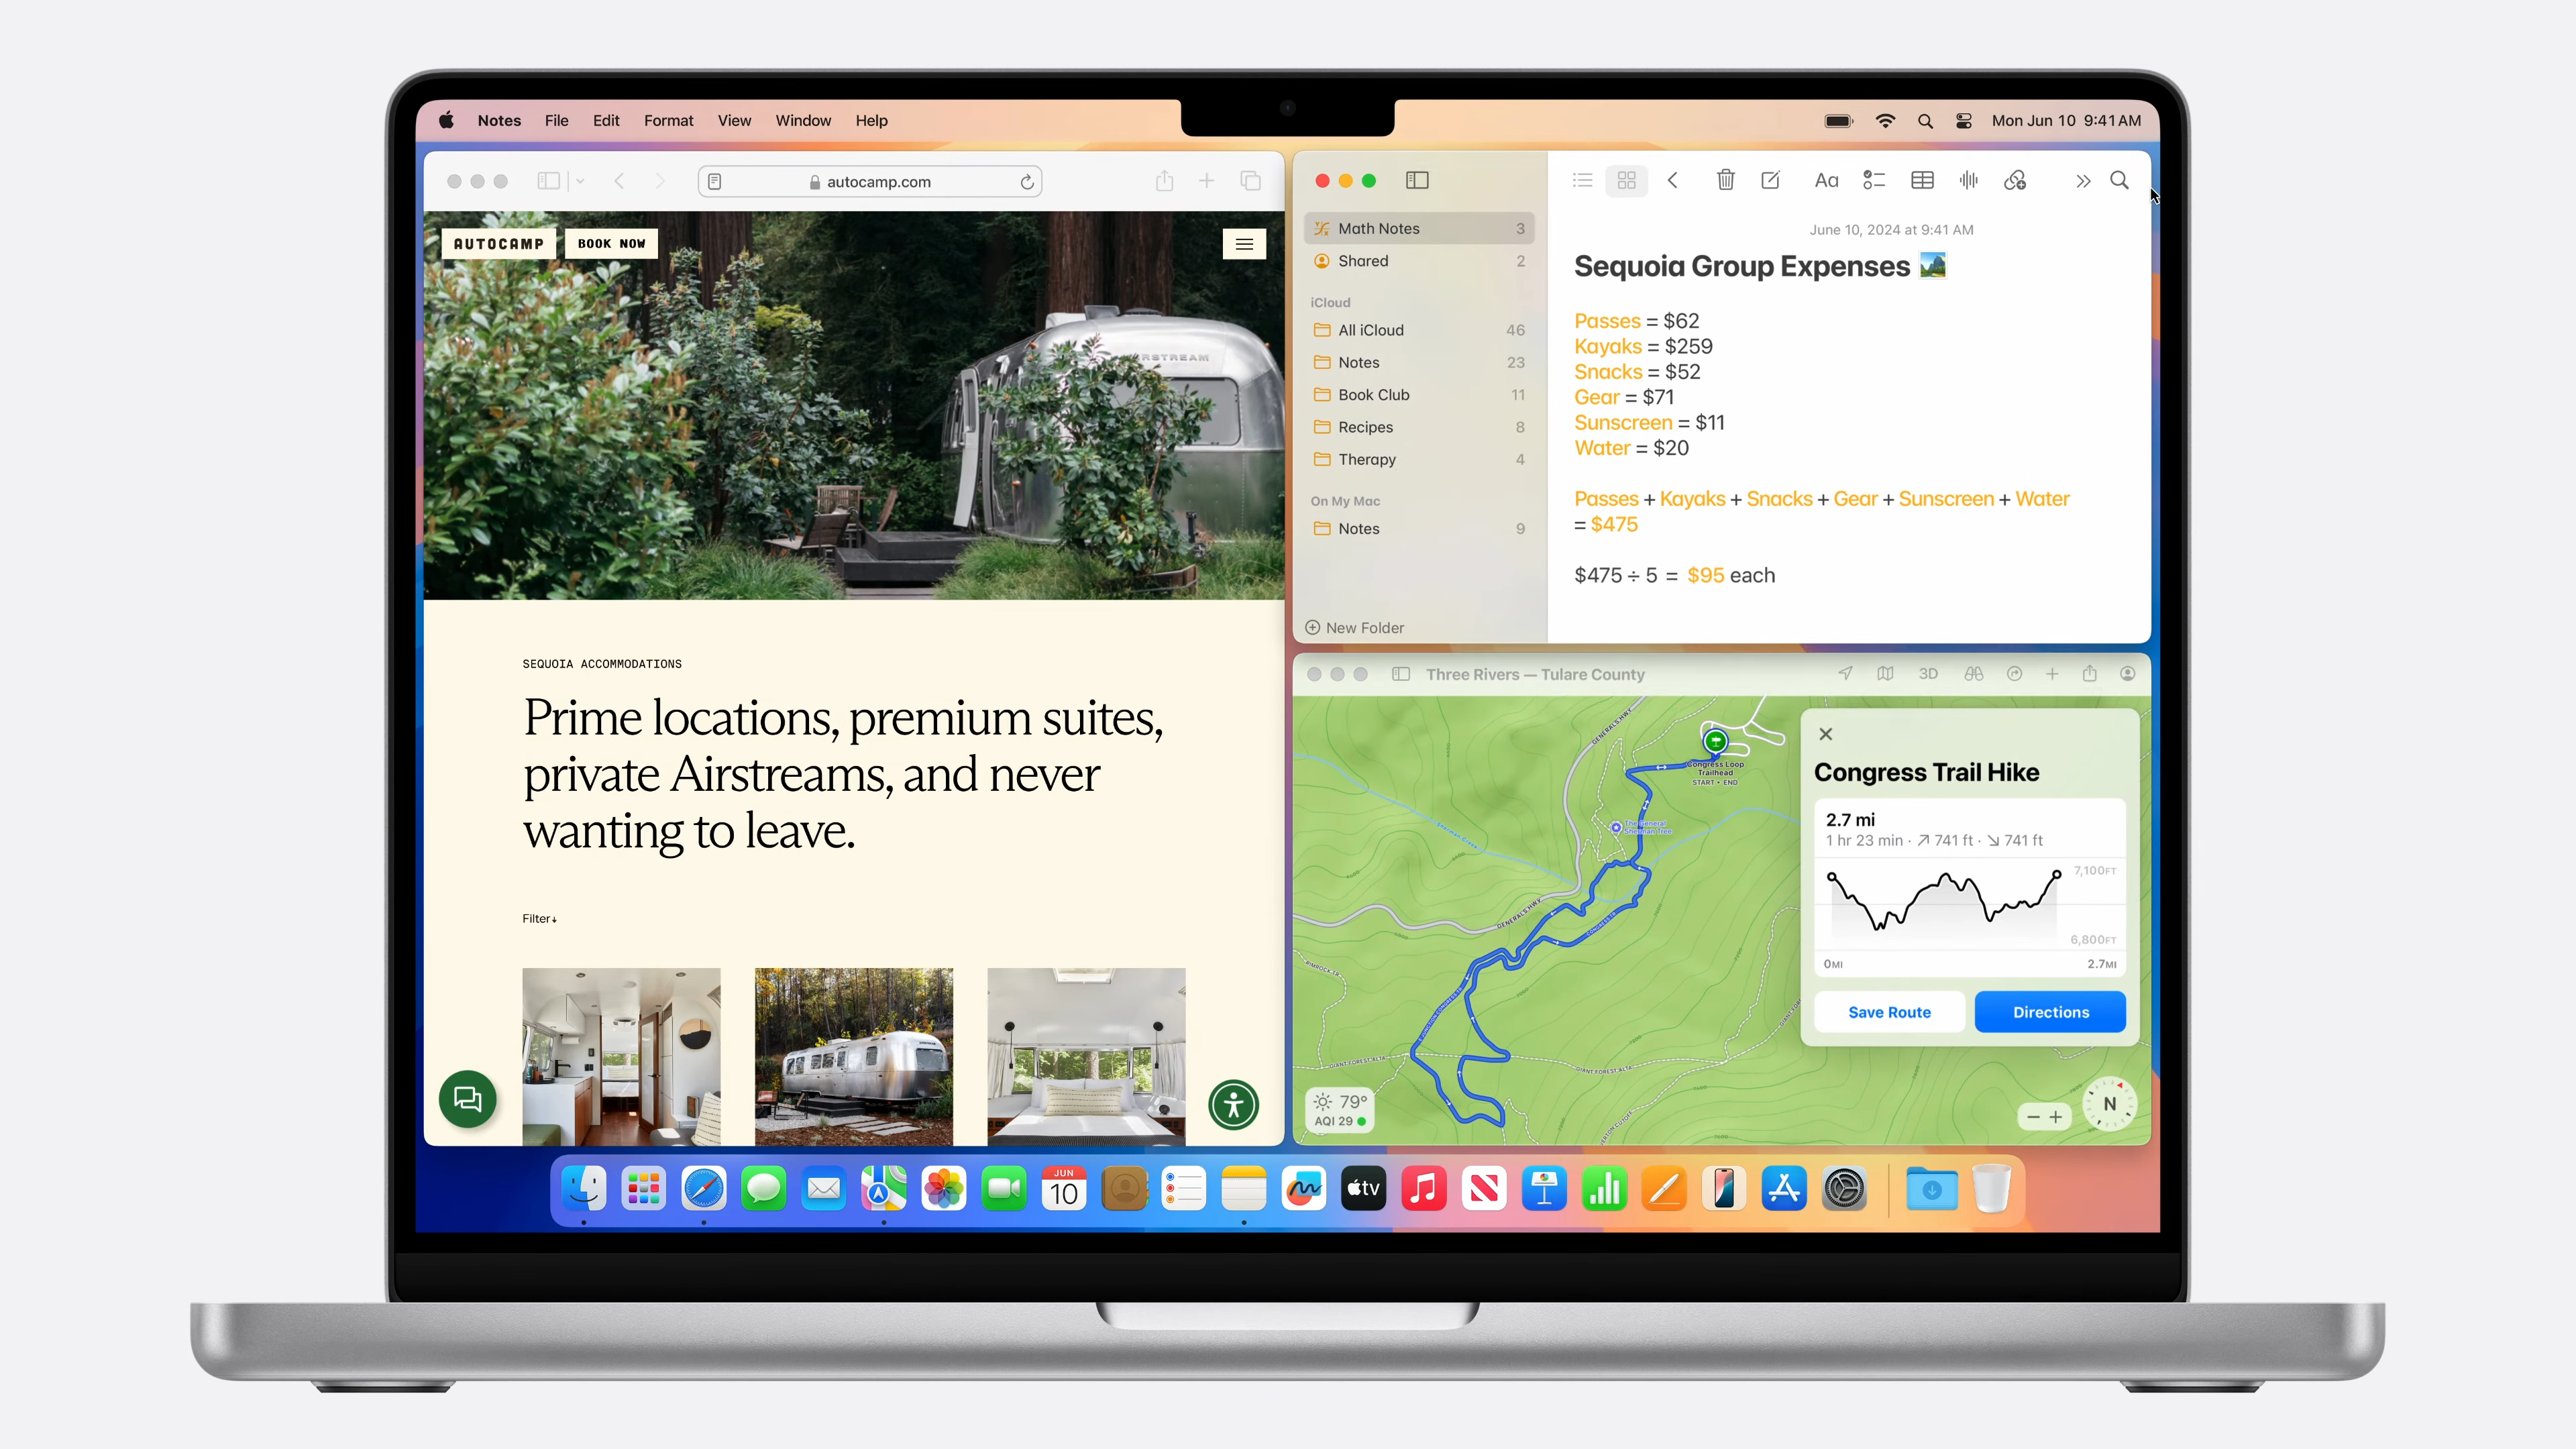
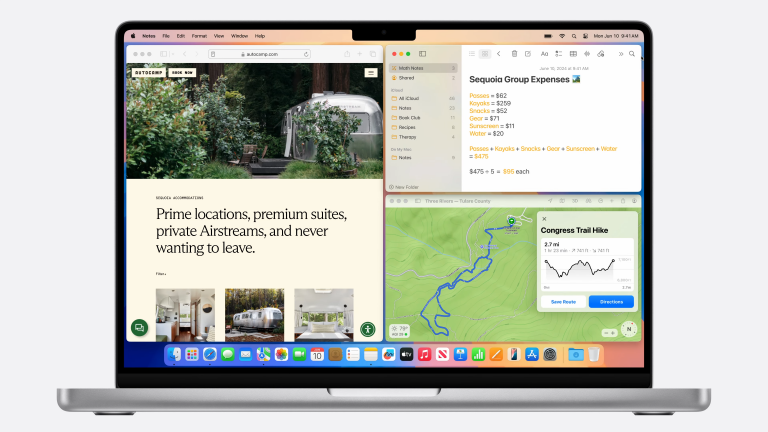
We finally have Windows Tiling! I’m a recent MacBook convert — and I have no desire to go back — but the one thing I’ve always missed is Windows 11’s Snap Layouts. Being able to grab several windows and snap them into several configurations, whether it’s side-by-side or tiled in four quadrants, is super convenient for multitasking.
My 15-inch M2 MacBook Air — or any MacBook for that matter — hasn’t had a built-in Snap Layouts equivalent. (But it’s worth noting some users rely on third-party macOS apps like Magnet for windows management.) However, that’s changing with the new Windows Tiling feature Apple announced at WWDC 2024. But the question is, how, exactly, do you use it?
How to use Windows Tiling on MacBook
As mentioned, Windows Tiling, available on macOS Sequoia, allows you to position windows in specific configurations. You will be able to use Windows Tilling for up to four windows on MacBooks. Here’s how to get started.
-
Fire up several windows on your MacBook screen (up to four).
-
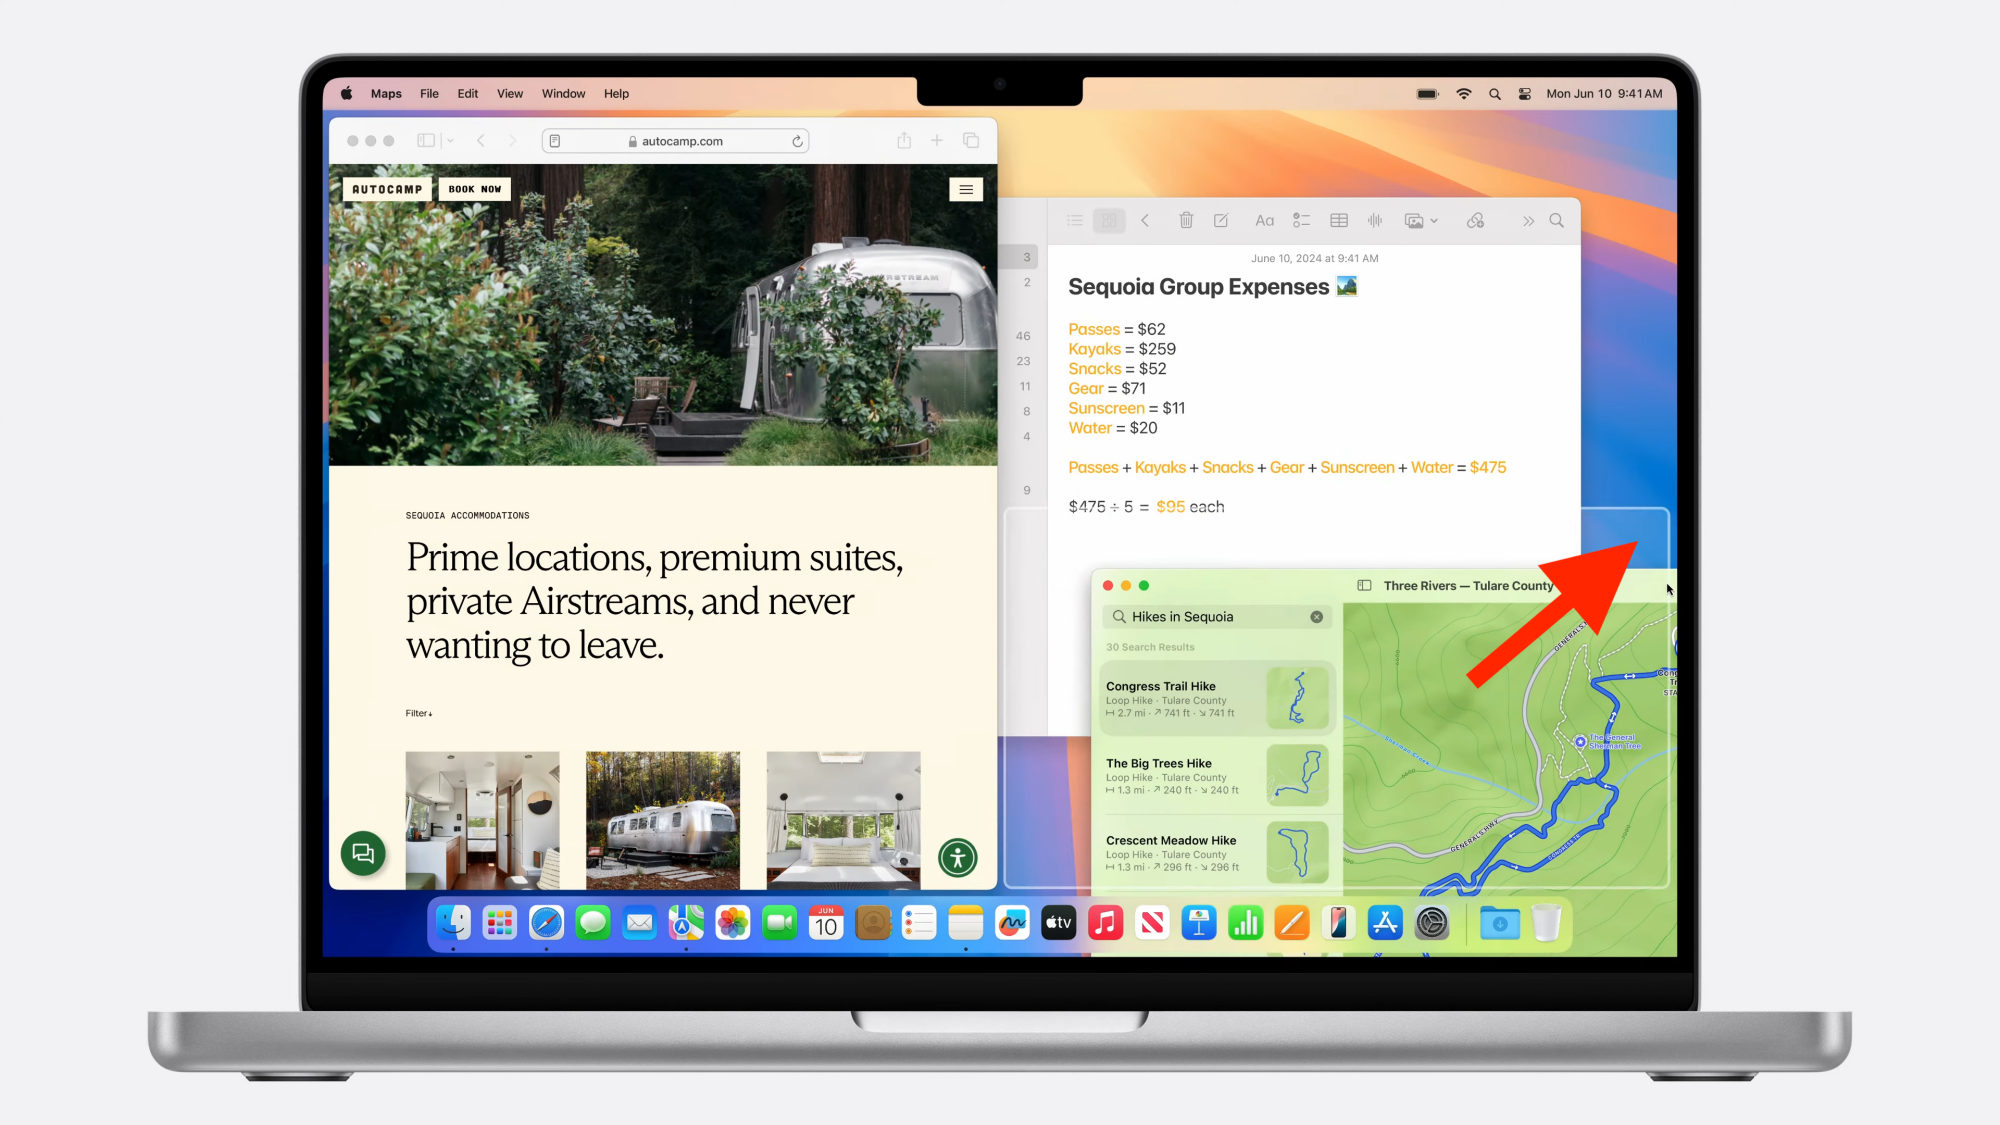
For a side-by-side Windows Tiling configuration, you can take one window and drag it to the left. You will see a translucent indicator pop up that acknowledges that you have intentions of using the Windows Tiling feature. After letting go, you’ll see the window snap to the right.
Credit: Apple
-
Next, drag the second window to the left side of the display. Similar to the last step, you’ll see an indicator before letting go, which will snap the window to the left screen.
-
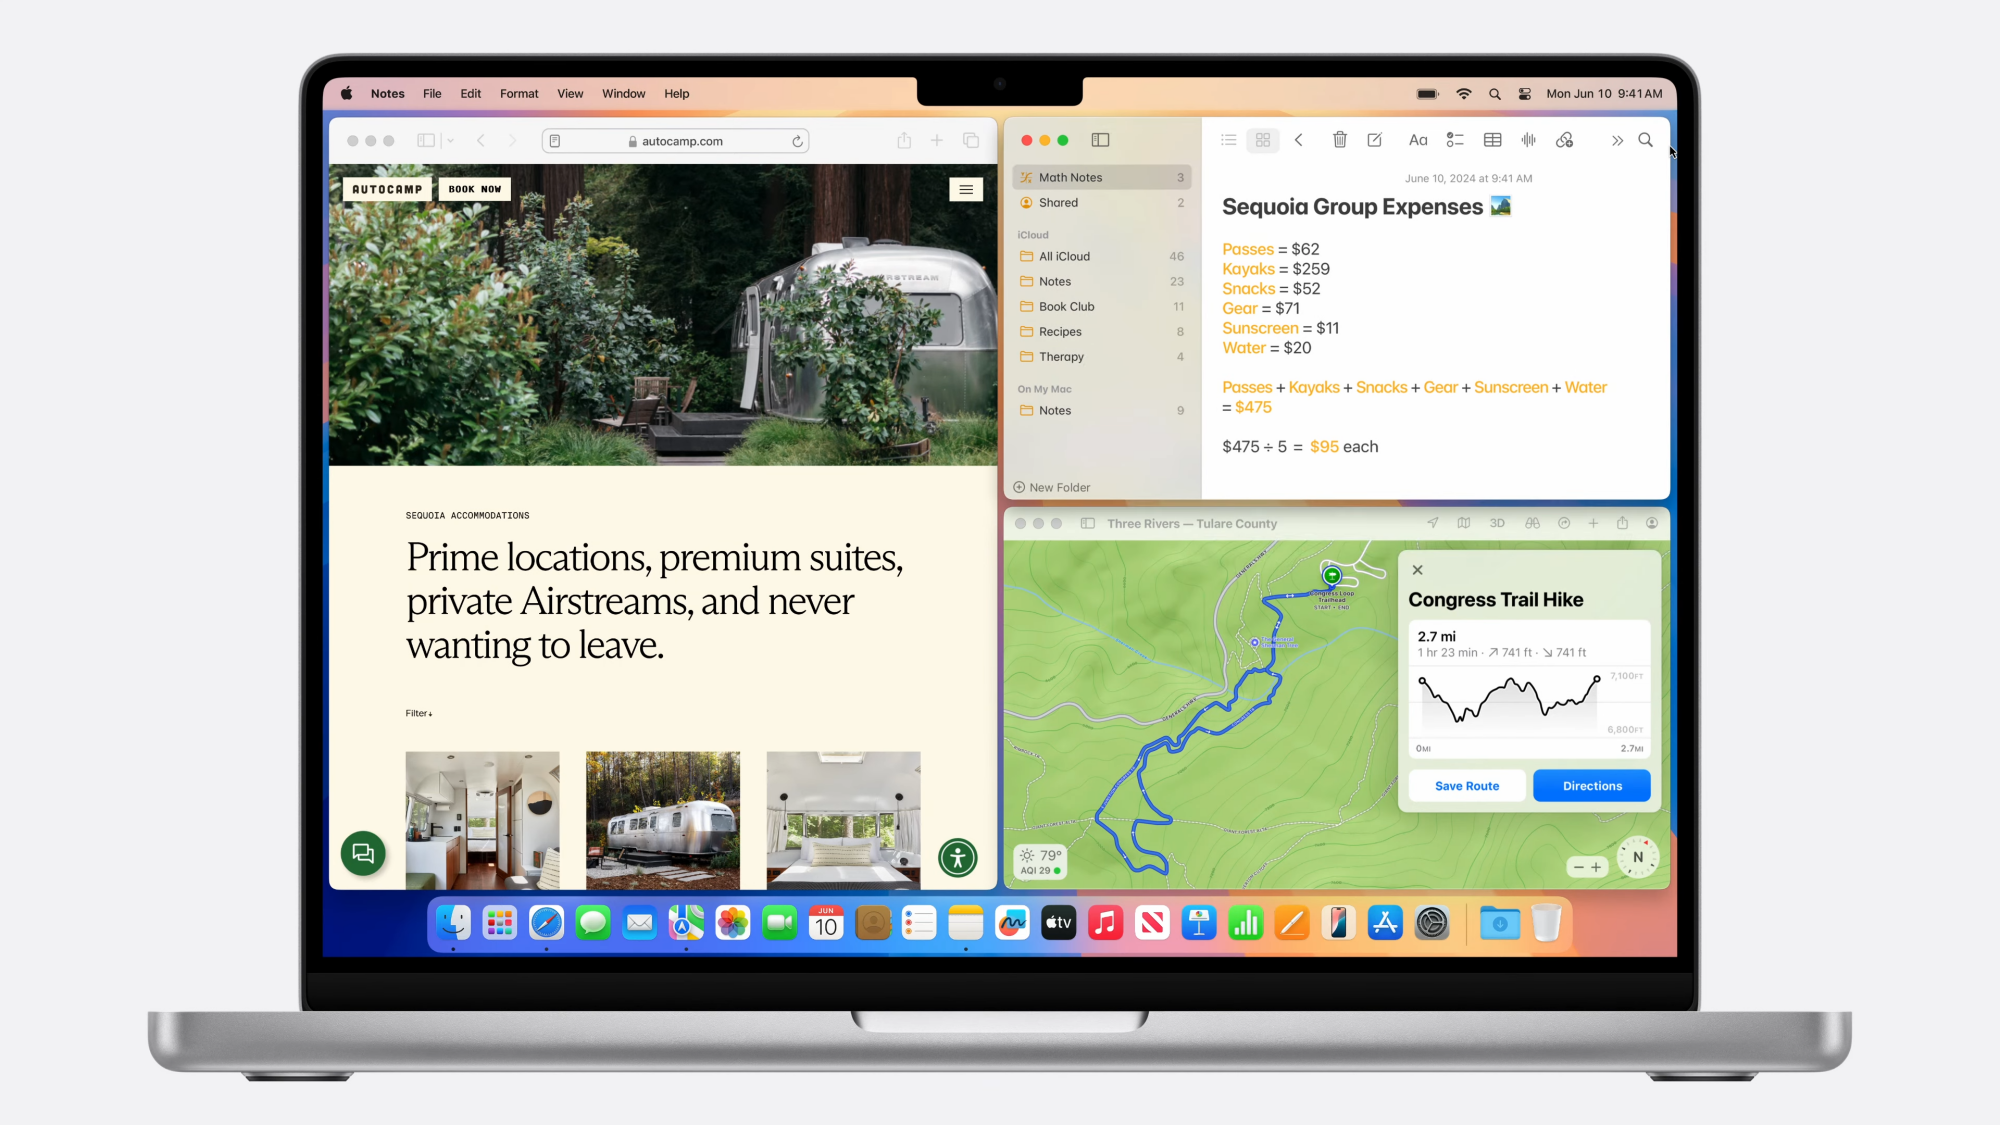
And voila! You will now see a side-by-side configuration with two windows, allowing you to juggle two windows more easily.
Of course, the side-by-side configuration isn’t the only one you can use. Let’s say you have three windows.
Credit: Apple
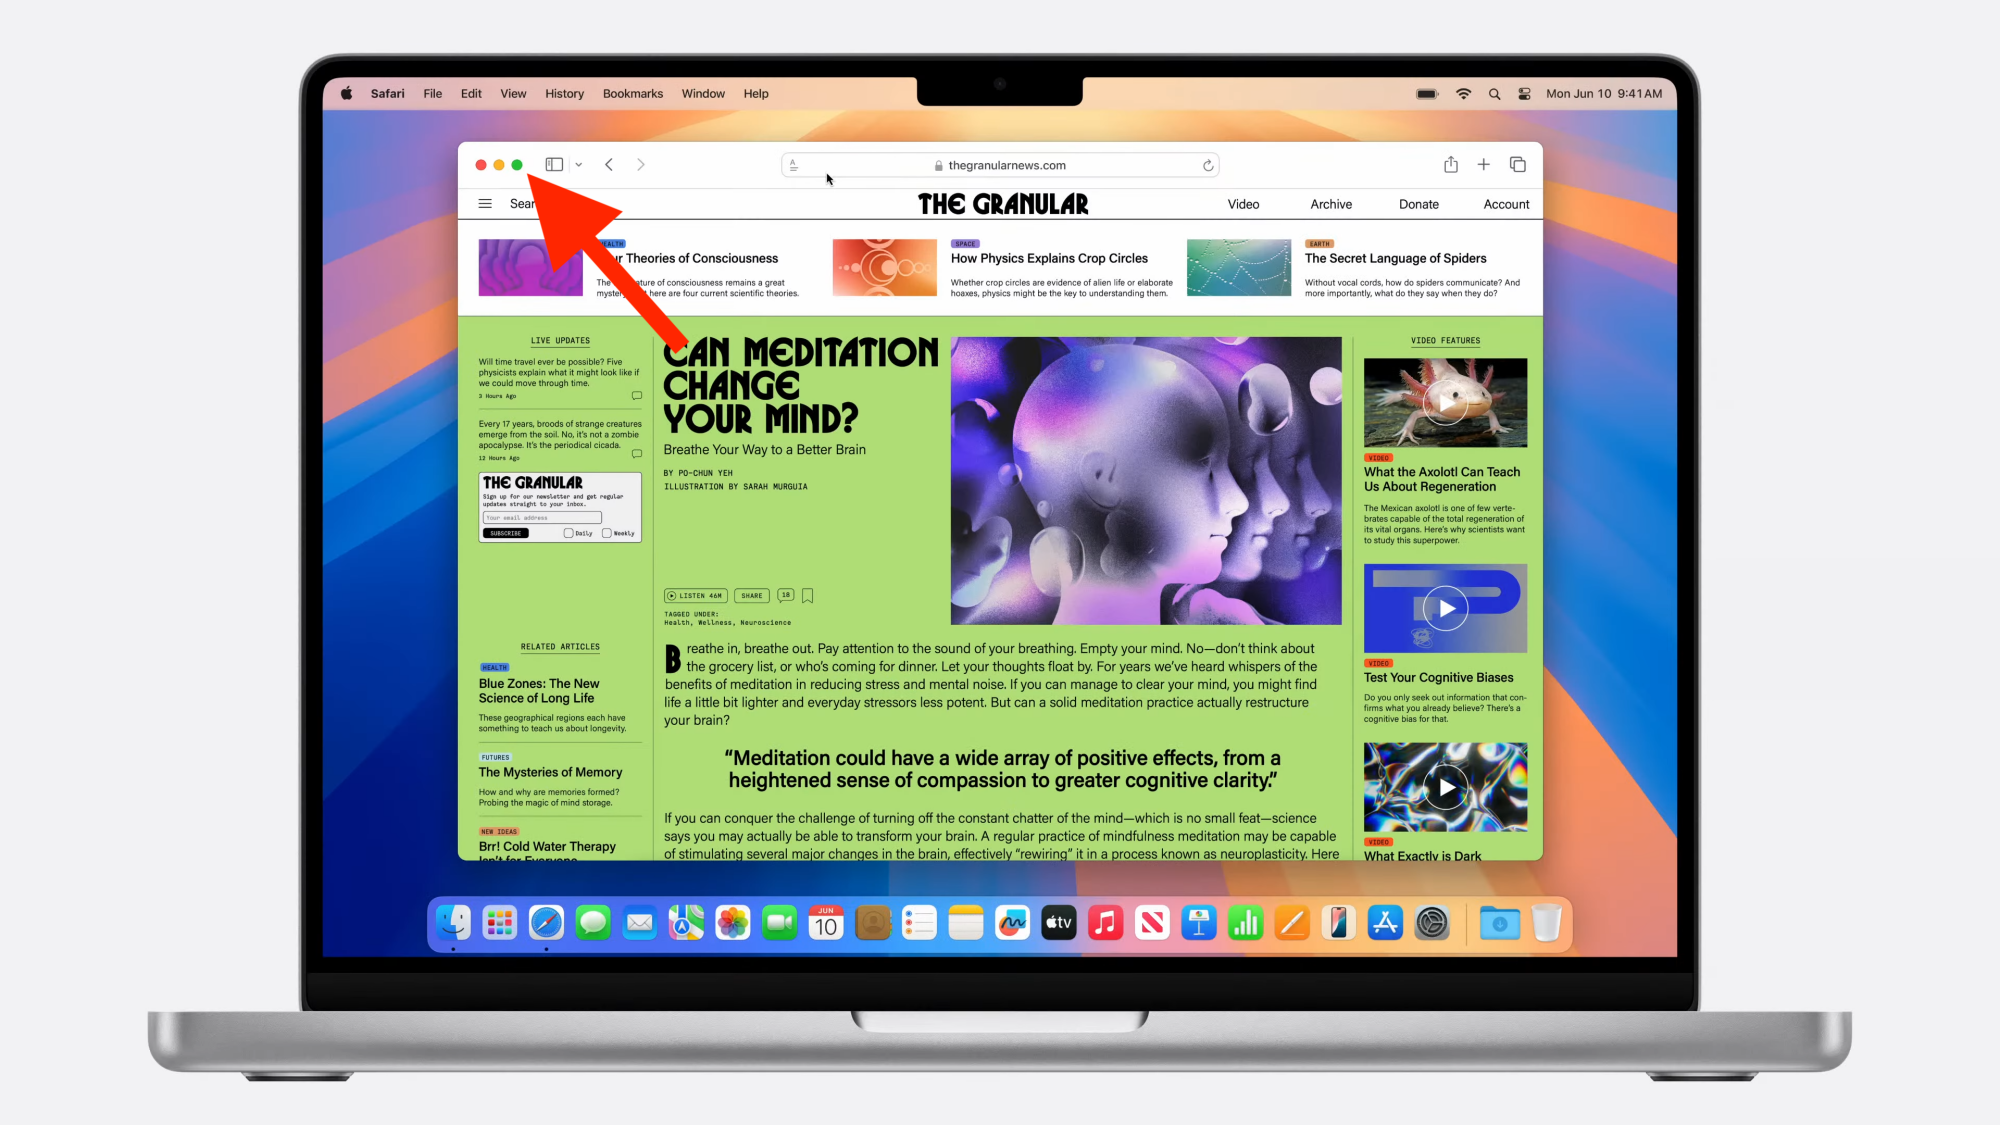
You can over your mouse on the green dot (on any window), allowing you to see several configuration options.
Credit: Apple
Click on your favorite one. Use Fn + Shift + Control, as well as the arrow keys, to cycle between different tiling options.



0 Comments